
Connecting QuickBooks
QuickBooks Online is connected through OAuth via Intuit — FiscoBridge never sees your QuickBooks password. Once connected, your QuickBooks invoices are automatically synced and fiscalized.
Before You Begin
You will need:
A QuickBooks Online account. QuickBooks Desktop is not supported — the integration uses Intuit's cloud REST API.
Admin access to the QuickBooks company you want to connect. Intuit's OAuth consent screen requires an admin to authorize third-party apps.
A FiscoBridge account with an active integration license and a valid PFX certificate.
Setting Up the Connection
Go to Integrations → Integrations in the sidebar
Click Create Integration
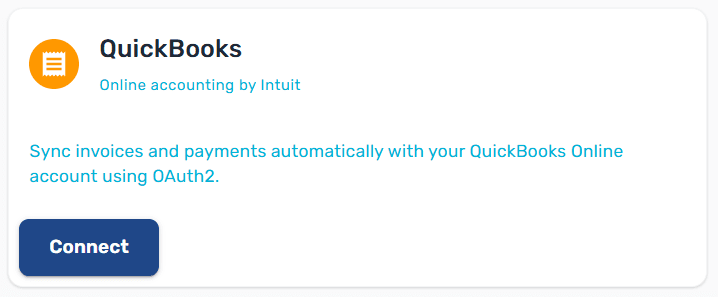
On the New Integration page, select the QuickBooks card
Pick the tier and subscription to bill the connection against (if you have more than one)
Upload your PFX certificate when prompted
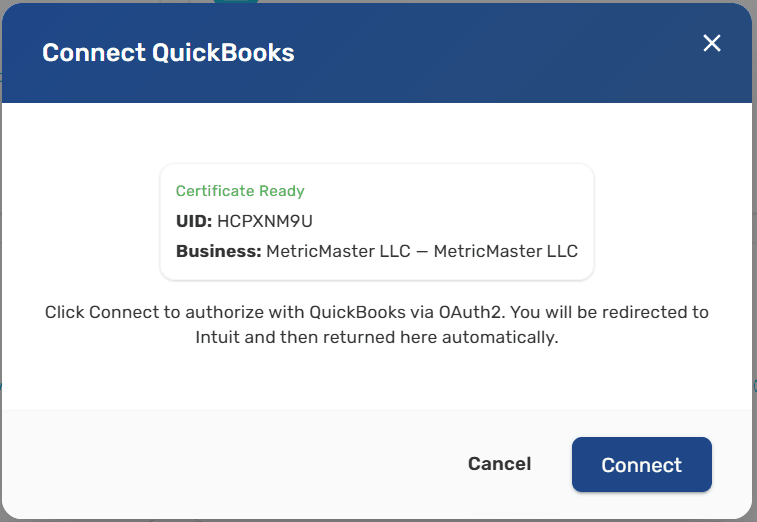
The QuickBooks confirmation dialog opens — review the certificate summary and click Connect
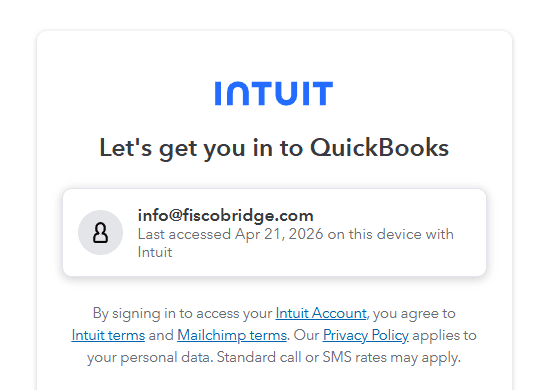
You'll be redirected to Intuit's authorization page
Sign in to your Intuit account (if not already signed in)
Select the QuickBooks company you want to connect
Click Connect (sometimes labelled Authorize)
You'll be redirected back to the Client Portal
Once authorized, the QuickBooks integration appears in your integrations list with status Active.
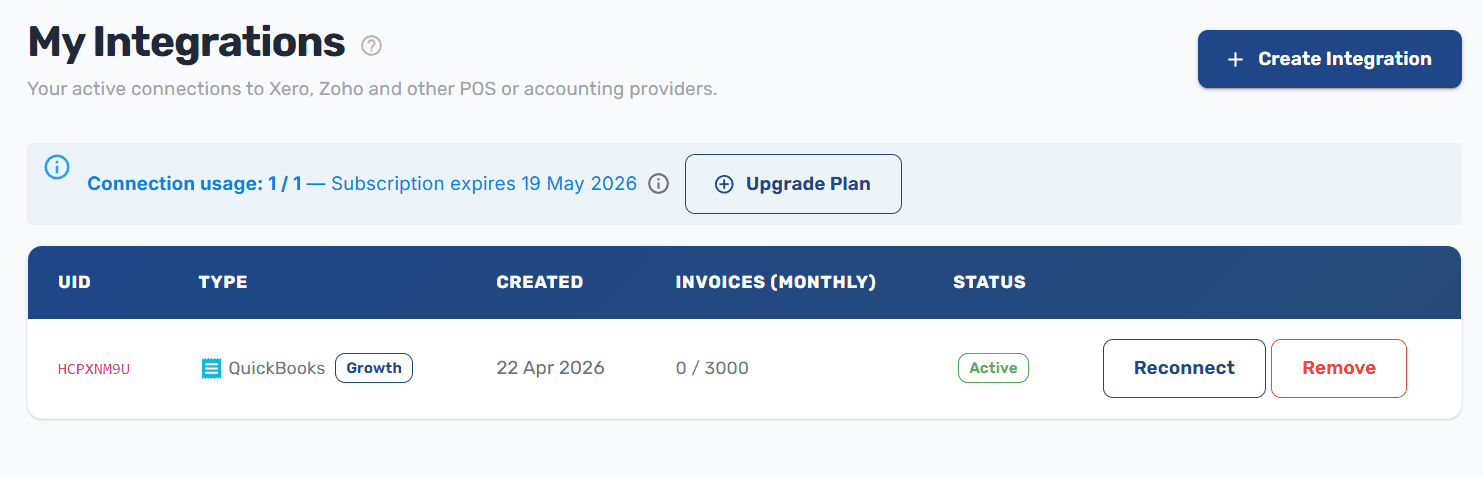
Multi-company: QuickBooks authorization is scoped to a single company ("realm") at a time. If you run several QuickBooks companies, create one FiscoBridge integration per company.
What Gets Synced
Invoices created or updated in QuickBooks are pulled into FiscoBridge automatically
Each sales-item line becomes an item on the fiscal invoice, preserving quantity and unit price
Tax codes on QuickBooks invoice lines are mapped to the tax labels your tax authority recognises (see Tax Labels below) — an invoice with an unmapped tax code is not fiscalized until you fix the mapping
The buyer tax number is read from the QuickBooks customer record when available
Each invoice is fiscalized — signed and reported to the tax authority
New invoices are picked up every 15 minutes by default. With the Professional tier, sync frequency improves and retry handling is more aggressive — see the Integrations Overview for tier details.
Tax Labels
Every invoice FiscoBridge fiscalizes is reported to the tax authority system, which recognises a fixed set of tax labels — single letters such as A, E, F — and ties each one to a rate (for example Fiji's A · 9% VAT, Samoa's A · 15% VAGST, or Vanuatu's V · 15% VAT). Those labels are the only tax categories the tax authority will accept on a fiscal receipt.
When an invoice comes from QuickBooks, FiscoBridge maps each line's tax code onto one of those tax labels. It does this by name — so your QuickBooks tax rates have to carry names that match the tax labels exactly.
Tax labels by country
The labels and rates depend on the country your certificate was issued for:
Fiji
Label | Rate | Name |
|---|---|---|
| 0.00 | ECAL |
| 0.00 | N-TAX |
| 0.50 | PBL |
| 0.00 | STT |
| 9.00 | VAT |
| 0.00 | VAT |
| 15.00 | VAT |
| 12.50 | VAT |
| 0.00 | VAT-EXCL |
Samoa
Label | Rate | Name |
|---|---|---|
| 0.00 | N-TAX |
| 15.00 | VAGST |
| 0.00 | VAGST-EXCL |
| 0.00 | VAGST-EXPO |
Vanuatu
Label | Rate | Name |
|---|---|---|
| 15.00 | VAT |
| 0.00 | VAT-Z |
What FiscoBridge matches on
Each QuickBooks tax code contains one or more tax rates (the named percentages inside the code). FiscoBridge looks at the tax rate name. A tax code maps successfully when one of its tax rates is named exactly like a tax label (e.g. a tax rate named A). Matching is case-insensitive, but otherwise the name must be the label and nothing else — A matches, VAT A or Standard (A) does not. The built-in TAX and NON codes are ignored.
Setting it up in QuickBooks
In QuickBooks Online, go to Taxes → Sales tax (or Settings ⚙ → Custom sales tax in regions with manual tax)
For each tax label you use, add or edit a tax rate
Set the tax rate name to the tax label letter, exactly:
A,E,F, …Set the rate (%) to the rate the tax authority uses for that label (e.g.
9for Fiji'sA · 9%VAT)Save, then select that tax rate on the relevant invoice line items
Match the rate, not just the name. The label letter is what links the line to the tax authority's category, but you should also set the rate percentage to match the tax authority's rate for that label. If the names line up but the percentages differ, your QuickBooks totals will no longer reconcile with the fiscal receipt.
Combining two labels on one line
A QuickBooks tax code can carry more than one tax label — useful when a line has to be reported under two categories at once, for example Fiji's A (VAT 9%) and F (ECAL). Create a combined tax rate (a tax code that holds more than one rate) and name its two rates A and F. The tax code's own name can be anything (you might call it AF); only the rate names inside it have to be the label letters. The line is then fiscalized under both A and F.
What happens if a label doesn't match
If any line on an invoice uses a tax code that doesn't map to a tax label, the whole invoice is not fiscalized. It is not sent to the tax authority, and no default label is substituted. FiscoBridge records the reason on the invoice — naming the unmapped QuickBooks tax codes, listing the required tax labels, and linking back to this guide — so you can rename the tax rate in QuickBooks and have the invoice synced again.
Checking the status in FiscoBridge
The Integrations page flags any active QuickBooks integration whose tax codes don't match. When there's a mismatch you'll see a Tax labels warning chip on the integration row and a banner that lists:
Your unmapped QuickBooks tax codes
The required tax labels with their rates (as chips, e.g.
A · 9%)
Once you've renamed the tax rates in QuickBooks, click Re-check on the banner to confirm the mismatch is cleared.
OAuth Tokens and Reconnecting
Intuit issues short-lived access tokens alongside long-lived refresh tokens. FiscoBridge refreshes the access token automatically in the background, so you normally don't need to reconnect.
However, Intuit invalidates refresh tokens if:
You revoke FiscoBridge's access inside Apps → Connected Apps in QuickBooks
The refresh token goes unused for an extended period (Intuit's policy, currently ~100 days)
You change the QuickBooks company's primary email or security settings
If the refresh fails, the integration is marked inactive and a Reconnect button appears on its row (same place the Active badge was shown above).
Click Reconnect
Complete the Intuit authorization again
Sync resumes from where it stopped
Previously fiscalized invoices are not affected.
Common Errors
"No organisations were found for the account you authorised." The Intuit account you signed in with isn't a member of any QuickBooks company, or it doesn't have admin rights on the company you meant to connect. Sign out of Intuit, sign back in with the correct admin account, and retry.
Integration suddenly goes inactive. Usually the refresh token was revoked or expired. Reconnect from the integrations list — see above.
Invoices not appearing in FiscoBridge.
Confirm the integration status is Active. Inactive integrations don't poll.
Only invoices with at least one Sales Item line are processed — blank or description-only invoices are skipped.
Check your integration license is active and hasn't exceeded its monthly invoice limit.
Allow up to 15 minutes for the next poll cycle when syncing without a webhook.
Buyer tax number missing on the fiscal invoice. Open the customer in QuickBooks and make sure the tax number is set on the customer record. QuickBooks invoices don't carry the tax number directly — FiscoBridge fetches it from the linked customer at sync time.
Removing the Integration
Go to Integrations → Integrations
Click Remove next to the QuickBooks integration
Confirm the removal
Removing the integration stops the sync. Previously fiscalized invoices are not affected.
If you also want to revoke FiscoBridge's access on Intuit's side, open QuickBooks → Apps → Connected Apps and disconnect FiscoBridge there — otherwise Intuit keeps the grant recorded against your account.
Next Steps
Manage integrations — View all your active connections
Integrations Overview — Learn about other supported platforms