
First-Run Setup
The first time you launch Desktop POS, a setup wizard guides you through connecting to a fiscal SDC and creating your admin user. This page walks through both setup modes.
Choosing a Setup Mode
The wizard begins by asking which mode you want to use:
Mode | When to use | What it does |
|---|---|---|
Connect | You have a Backoffice and are adding this device to it | Pairs the device with the Backoffice via an API URL + registration code; the catalog and settings are downloaded automatically |
Manual | This is a standalone till with no Backoffice | You configure the country, currency, and SDC connection directly on this device |
Tip: Use Manual mode for a single standalone till. Use Connect mode when this device belongs to an organization with a Backoffice.
Manual Setup
Use this mode to configure the device on its own without a Backoffice.
Select Manual on the mode picker and click Next.
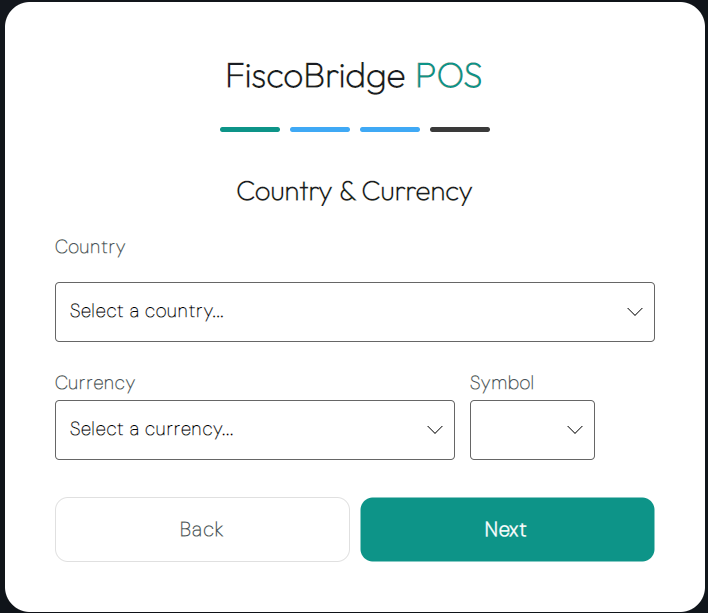
Choose your Country — Fiji, Samoa, or Vanuatu.
Choose the Currency for this device.
Enter the SDC Host and Port for your local or networked SDC. The default is
localhost:8888.Click Test connection to verify that the SDC is reachable and the smart card is present.
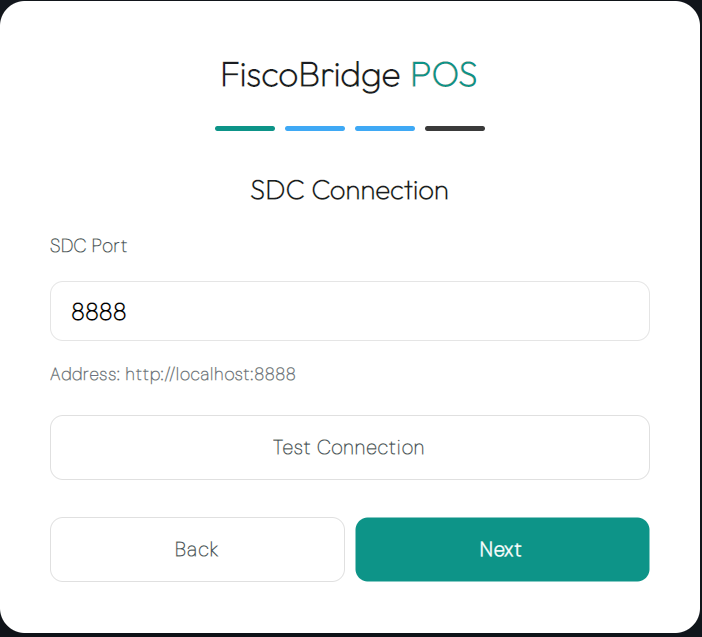
Once the connection test passes, click Next.
Create the admin user: enter a Display name and a PIN (4–8 digits). This user has the Manager role and full access to all features.
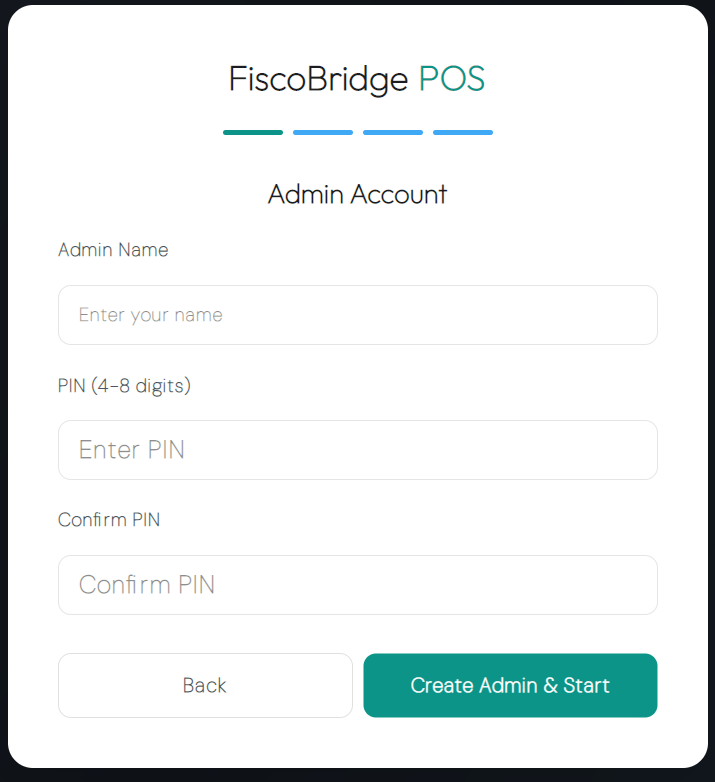
Click Finish — the setup wizard closes and you are taken to the login screen.
Connect Setup
Use this mode to pair this device with a Backoffice.
Select Connect on the mode picker and click Next.
Enter the Backoffice API URL — for example,
https://backoffice.yourcompany.com/api.Enter the Registration code generated in the Backoffice under Devices → Provision device.
Enter a Device name that identifies this till in the Backoffice.
Click Connect — the device contacts the Backoffice, registers itself, and downloads the initial catalog, cashiers, and settings.
Confirm the hardware assignment (SDC host/port, printer) if prompted.
Enable or disable any optional feature modules (see below).
Click Finish — the login screen appears.
Note: In Connect mode the product catalog is managed by the Backoffice and is read-only on this device. To add or change products, sign in to the Backoffice.
Feature Modules
After the initial connection step (in either mode), you can enable optional modules:
Module | What it adds |
|---|---|
Inventory | Stock tracking, purchasing, stock takes, and low-stock alerts |
Restaurant | Table layout, course management, and kitchen printing |
Hotel | Room-linked charges and folios |
This guide covers the retail and inventory workflow. Restaurant and Hotel features are documented separately.
Backup Location
The local database and settings are stored in the platform data folder (%APPDATA%\FiscoPOS\ on Windows). You can change the backup export path at any time under Settings → Backup & Restore.
Next Steps
Cashiers and roles — Add staff accounts and assign roles
Make a sale — Ring up your first transaction
Settings — Review every configuration option