
Connecting to the SDC
Desktop POS does not sign invoices on its own — it fiscalizes through the FiscoBridge SDC (Secure Digital Controller). The SDC must be installed, initialized, and connected before Desktop POS can complete a sale. Without it, the till cannot trade.
Why the SDC Is Required
The SDC is not optional. Desktop POS depends on it for three things:
Tax rates — the valid tax labels and rates are retrieved from the SDC. Desktop POS never stores, edits, or invents its own rates. See Tax rates.
Fiscalization — every invoice is sent to the SDC, which signs it and returns the fiscal data (invoice number, counter, timestamp, QR code, and digital signature). See Fiscal compliance.
Reporting to the tax authority — the SDC submits the signed invoice to the tax authority. Desktop POS never communicates with the tax authority directly.
Without a connected, initialized SDC, Desktop POS cannot retrieve tax rates, cannot fiscalize, and cannot report sales — so it cannot issue an invoice or complete a sale.
SDC Connection Status
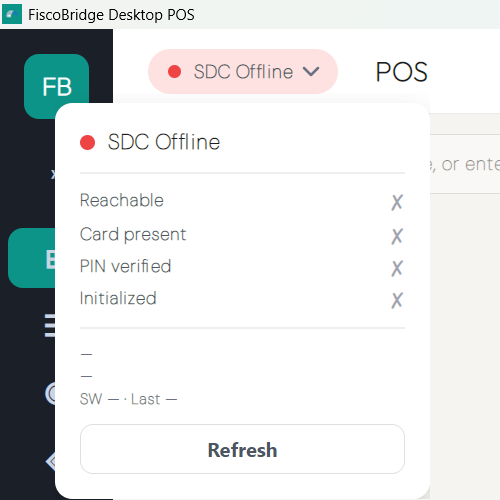
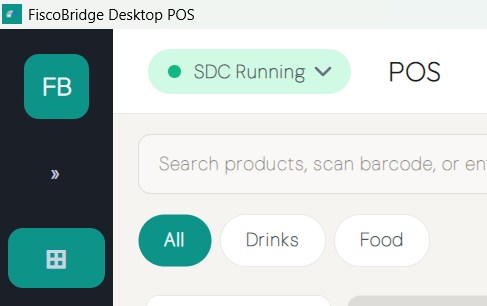
A status indicator on the main sales screen always shows the current SDC connection state.
Not connected — the SDC is unreachable, the smart card is missing, or the PIN has not been verified. The Fiscalize action is disabled and sales cannot be completed.
Connected — the SDC is reachable, the smart card is present, the PIN is verified, and the SDC is initialized. The Fiscalize action is enabled and you can trade.
For the full list of status states — Reachable, Card Present, PIN Verified, Initialized, Audit Required, Certificate Expiry — and how the POS and SDC mutually authenticate, see Fiscal compliance.
Connecting Desktop POS to the SDC
Install and initialize the FiscoBridge SDC. Install the SDC application, register the smart card, and verify its PIN. See the SDC documentation for the full setup.
Point Desktop POS at the SDC. Enter the SDC Host and Port (default
localhost:8888) — during first-run setup, or later under Settings → Connection (see Settings).Test the connection. Click Test Connection to confirm Desktop POS can reach the SDC and the smart card is present.
Insert the smart card and verify its PIN so the status shows PIN Verified.
Wait for Initialized. Once the SDC returns its configuration — including the tax rates — the status reaches Initialized and Fiscalize is enabled.
You can now make a sale.
If the SDC Isn't Connected
You can still open the app, manage the catalog, and review history — but you cannot fiscalize. The Fiscalize button stays disabled until the connection is restored.
Status | Meaning | What to do |
|---|---|---|
Not reachable | The host/port is wrong or the SDC app isn't running | Start the SDC; check the host and port under Settings → Connection |
Card absent | No smart card is inserted in the SDC | Insert the registered smart card |
PIN not verified | The smart card PIN hasn't been entered | Verify the PIN — see the SDC documentation |
Audit required | The SDC must complete an audit/sync before it can sign again | Complete the audit action and reconnect the SDC to the internet |
Next Steps
First-run setup — Enter your SDC host and port
Fiscal compliance — How the SDC signs invoices and authenticates
Tax rates — How rates are sourced from the SDC
SDC documentation — Install and initialize the SDC